Coral background

Showing posts with label Cooking. Show all posts

Tuesday, April 17, 2012

Recipe Review: Peanut Butter Banana Oatmeal Squares

I found this recipe on (surprise!) Pinterest and gave it a try this morning. My friend Sarah came over for breakfast. We talked about Jesus and babies, so it was pretty much perfect. 

These oatmeal squares were really delicious & healthy too! I tweaked the recipe, per yoush. It's against my religion to follow a recipe to a T. I used two bananas instead of one, added more cinnamon than it called for, and substituted applesauce for the brown sugar. I also added about 1.5 tablespoons of sugar just to make sure it was sweet enough. 

Try them out! Here's the recipe from Gingerbread Bagels.

Thursday, March 15, 2012

Recipe Review: Homemade Coffee Creamer

I've loved coffee since I was six years old. Maybe that explains why I'm 5'1". I'd probably be in the WNBA if it weren't for my young-aged coffee addiction. You win some, you lose some.

I digress...

My hatred for flavored creamers is almost as strong as my love for the deliciously caffeinated drink. I mean flavored creamer lasts for an ungodly amount of time. There's no telling the amount of preservatives in any given bottle. I recently tried out a flavored cream that was natural (no preservatives or weird, unpronounceable ingredients) - Coffee Mate Natural Bliss in Sweet Cream. It is delicious - so delicious it doesn't take me long to go through a bottle. So, thanks to Pinterest, I can now make my own creamer in less than 10 minutes and use as much as I want! Or as much as I feel like I can without my hips doubling sizes.
I modified this recipe from Deliciously Organic:
  • 1 cup skim milk
  • 1 cup heavy whipping cream
  • 1 tsp. vanilla
  • 4 tsp. maple syrup
  • Some cinnamon, for kicks & giggles
Heat this mixture (sans vanilla) in a saucepan over medium heat until it steams. Remove from heat & stir in vanilla. Allow the liquid to cool for about 30 minutes. Strain the mixture through a fine mesh sieve into a pourable bottle (I just used the empty container from my store bought creamer).

The website says it lasts up to 10 days in the refrigerator, which is way less scary than 10 months!

Verdict: not bad. It didn't quite match my preferred ratio of cream to sugar, so I'd definitely add more maple syrup next time (maybe 5-6 teaspoons).

You could make lots of flavored creamers with this recipe, so don't be afraid to get creative!

Monday, February 13, 2012

Valentine's Kisses of the Non-Chocolate Variety

My sweet, sweet boyfriend loves all things plain. Vanilla ice cream without toppings, plain cheeseburgers, cookies void of icing and sprinkles. Rice krispy treats, however, (plain mind you, they can't be crazy with chocolate or other sweets intermingled) are by far his favorite. Honestly, I'd never made them until a few months ago when I made (read: failed at making) turkey rice krispy treats for Thanksgiving. He did his best to help me, but they were a dud. So in honor of Valentine's Day, I decided to make him plain rice krispy treats with a cute flair.
I made the treats first, nothing fancy, just 6 cups of rice krispy cereal, a bag of mini-marshmallows, and a stick of butter. Then, I sprayed a funnel with cooking spray and stuffed about 2 tablespoons(ish) of the rice krispy treat mixture into it, packing it tightly. I plopped the treats out onto my countertop and worked on shaping them to make them into more of a Hershey kiss shape. I mostly made smaller sized treats, but went all out on a couple of them and made them nearly as big as the funnel itself. I was worried that I would have to work super fast to make sure the treats were formed before the mixture started to set up, but I was surprised that I really didn't have to rush (plus, I had my friend, Lauren, helping out which made the process go faster).
While the treats were setting up, I made tags for each treat with reasons why I love my valentine :) Some were sweet and serious, but some were silly.
I wrapped the treats up in aluminum foil, securing the paper within the foil.
I was so thrilled with how they turned out! It was definitely a hit!

Tuesday, February 7, 2012

Recipe Review: Spinach & Garlic Spaghetti

This weekend I had virtually no groceries except for frozen chicken, spinach, spaghetti, a can of rotel, instant mac-and-cheese and fish fillets. Fortunately though, I had enough ingredients to scrape together this dish, which was surprisingly good! I was skeptical about how "healthy" it would taste, but it got the man-stamp-of-approval so suffice it to say that it's really delicious and not too much like cardboard.

It was super easy to whip up, too!
Saute lots and lots and lots of spinach in a little bit of olive oil. I used around 3/4 of a pound of spinach and was just making two portions, so don't be afraid to use a lot!
Throw some of this (or any other Italian-type seasoning) on the spinach. The recipe called for a few garlic cloves but I opted for this (easier) way instead. On a side note, this seasoning is the bomb! I got it at Costco and have been using it all year. It's especially good for bread.
Once the spinach is sauteed, put some half and half in the pan and cook it for a few minutes, until most of the liquid has evaporated.
Throw this mixture into a blender or food processor and blend until its got a pesto-like consistency. I used a blender and ended up having to add a little water - go with a food processor if you can!
Next, cook some spaghetti (or other pasta - I think penne would have been lovely) according to the directions on the box.
And cook your chicken. Since I was only cooking for two people, I just used one chicken breast.
Then use the old throw-some-chicken-in-your-KitchenAid-to-shred-it trick.
 Mix the pasta with the spinach sauce and...
Add the chicken.

Add lots of Parmesan cheese and call it a meal! I will definitely be making this again soon. It was healthy and super delish.

I adapted this recipe from Jess Thompson's Hogwash blog.

Tuesday, January 31, 2012

Recipe Review: Brown Butter Banana Bread

I barely had time to snap a picture - this stuff went fast.
Of late, I've had a lot of theologically based posts so I figured it was time to get some sugar up in here. So here you, ladies & gentlemen: the mother of all banana breads. 

If you're looking for a healthy banana bread, you should probably look elsewhere. But if you're looking for a delicious, moist, dessert-like banana bread, look no further. 

Here's what you'll need:
For the bread:
  • 1 stick Unsalted Butter
  • 1-½ cup Flour
  • 1 pinch Salt
  • 1 teaspoon Baking Soda
  • ½ teaspoons Cinnamon
  • 1 whole Egg
  • 1 cup Sugar
  • 2 whole Bananas, Mashed
  • 2 Tablespoons Milk
  • 1 teaspoon Vanilla Extract
For the crumb topping:
  • ¼ cups Flour
  • 2 Tablespoons Sugar
  • 2 Tablespoons Brown Sugar
  • ¼ teaspoons Cinnamon
  • 2 Tablespoons Unsalted Butter, Cold
Directions: (Makes 1 large loaf)
  • Preheat the oven to 350. Grease a loaf pan, and set aside.
  • In a small saucepan, over medium-high heat, cook the butter, stirring occasionally, until it darkens. (Do not burn it, cook it until it smells nutty.) Once the butter has browned, remove from the heat, and cool slightly. Meanwhile...
  • In a medium bowl, whisk together the flour, salt, baking soda, and cinnamon, and set aside.
  • In the bowl of your mixer, combine the egg and sugar, and mix at medium speed until light and fluffy.
  • Mix in the cooled brown butter slowly.
  • Add the mashed bananas, the milk and the vanilla extract, and mix on medium speed until combined.
  • Mix in the flour mixture until combined.
  • Combine the ingredients for the crumb topping in a medium bowl (use your hands or a pastry cuter to mix the 2 Tablespoons of cold) butter into the dry topping ingredients until crumbly, pea-sized crumbs form). Set aside.
  • Pour the batter into the prepared loaf pan. Sprinkle the crumb topping evenly over the top of the batter.
  • Bake for about 1 hour, or until a toothpick inserted in the center comes out clean. Let cool before enjoying!
You know how much I love batter, and this batter was particularly phenomenal. I seriously could've drank it with a straw. The only tricky part about this recipe was browning the butter, which was something I'd never done. I think I might've burned it slightly, but it was still amazing. I also added 3 bananas instead of 2 to enhance the flavor, which is something I always do when baking banana bread.

Go work out, then convince yourself that this bread is healthy because it has fruit, then make it! Chances are you'll probably make some friends with this one.

Tuesday, January 24, 2012

Spinach (?) Smoothies

If you're on Pinterest, you've probably seen at least one recipe for some sort of smoothie with spinach. An avid hater of most vegetables, seeing those recipes used to make my stomach turn. Key words: used to. Over Christmas break, my mom was making some detox smoothies with spinach and they were delish. I know, it sounds disgusting, but trust me on this one - they're awesome. In fact, I made a smoothie without spinach a few days ago and it just wasn't the same without the little green leaves. You can't really taste the spinach - it's more of a texture thing and I'm a big texture person. If you're apprehensive, give it a try! You won't be disappointed. 
I used a non-fat 8 oz. Archer Farms vanilla yogurt, about 1.5/2 cups of spinach, a really ripe banana, and about 1 cup of blueberries. I added some ice* and a little water (but if you're wanting some a little more creamy, go for milk).  
So pretty! You could definitely add other berries of sorts. My mom really likes mangoes in them. You could also substitute Greek yogurt for a little more protein.
Looks healthy, but tastes delicious!

*I read if you drink ice cold beverages, something that burns on average 10 calories a day, you'll end up loosing a pound over the course of a year! Cool!

Tuesday, November 29, 2011

Recipe Review: Cinnamon Rolls


If you want to make friends, influence people, or snag a significant other, you might wanna take notes, break out an apron, and get to bakin', because these cinnamon rolls are fantastic. Some people have even told me that they're better than Krispy Kreme doughnuts, although that cannot be confirmed nor denied. 

The recipe looks kind of intimidating at first, but once you make them a few times, you'll get the hang of it.

Some tips:
  • Instead of setting the dough in a warm place to rise (which can sometimes be finicky), I turn the oven on 200 degrees, prop the door open, and set the bowl full of dough on the edge of the oven, covered with a tea towel. The constant, but not direct, heat source helps the dough to rise without fail every time.
  • After lathering the dough with butter, cinnamon, and sugar, I suggest slowly rolling the dough towards you, periodically pressing firmly to make sure the glorious, caloric contents stay within the rolls.
  • Don't skimp on the cinnamon. If you don't think you put too much, you probably didn't put enough.
  • Pick up disposable circular aluminum foil pans and hand them out as Christmas presents or take them to neighbors and friends for a special holiday treat. This has been a huge hit for me in the past! 
  • This recipe makes a lot of cinnamon rolls, which, trust me, is not a bad thing. I usually end up giving some away, baking some immediately, and freezing some (especially for Christmas morning!). 

Here's the recipe for Pioneer Woman's Cinnamon Rolls.  Enjoy!

Tuesday, November 22, 2011

"I Only Like You When You Give Me Cookies."

If you haven't seen this gem, watch it now. I could eat those cheeks up. I hope my babies have big cheeks. I will kiss them all the time. 

I digress...

The real reason I'm telling you about cookies is so you can make these for Thanksgiving and impress everyone with your baking skills. Even if you don't have any baking skills whatsoever, you can ace these cookies and still be impressive. These cookies are so easy I'm literally embarrassed to post them. They're just too cute to hide.

You just need a tube of sugar cookie dough, brown food coloring or gel, mini Reese's cups, icing (I used cream cheese icing), and orange food coloring. You could totally do chocolate cookies of sorts or even peanut butter and add the brown food coloring. 

Pop the colored cookie dough in the oven for 8 minutes and allow them to cool (seriously let them cool, otherwise the Reese's will slide all around and the icing won't set). Place a Reese's cup in the middle of each cookie. Line the base of the cup with white icing and make a little orange square for the hat buckle. They're super cute and super delicious. 

Happy almost Thanksgiving!

Monday, November 21, 2011

Recipe Review: Pumpkin Muffins

Fall might be my favorite season. I love cold weather, scarves, boots, crunchy leaves, watching football on Sunday afternoons, hot coffee, not sweating profusely on the way back from class, and the fact that Thanksgiving means Christmas is almost here! Hands down my favorite fall food is these bad boys. They're fantastic.


Here's the recipe:

1 tsp. baking soda
1/3 c. water
1 c. cooked pumpkin
½ c. oil or applesauce (fat free)
2 eggs, beaten or 2/3 c. egg substitute
1 ½ c. sugar
1 2/3 c. flour
½ tsp. baking powder
¼ tsp. salt
3 tsp. cinnamon
½ tsp. nutmeg

Dissolve baking soda in water.
Combine all other ingredients, sifting dry ingredients. Mix thoroughly.
Bake at 350 for about 20 minutes (for regular sized muffins) or about 9 minutes for mini-muffins.
 
Yield: about 60 mini-muffins 

Monday, November 14, 2011

Recipe Review: Chicken & Wild Rice Soup

Growing up, I hated soup. To this day I'm still kinda finicky about it. But this soup is by far my all-time favorite. 
It's pretty simple. Just celery, carrots, onions, mushroom, rice, shredded chicken, cream of mushroom soup & broth. And butter :)
And if you have a KitchenAid mixer, you can stick in a couple of cooked and slightly cooled chicken breasts and it will literally shred them for you. I didn't believe it for myself, but I tried it and it worked beautifully. 
This was the first time I had chicken and wild rice soup that wasn't made by my sweet mama and it turned out great!

Here's the recipe:
2 quarts chicken broth
1/2 lb. mushrooms, chopped (I didn't add quite this many)
1 c. finely chopped celery
1 c. shredded carrots
1/2 c. finely chopped onions
1 tsp. chicken bouillon (I left this out)
1 tsp. parsley
1/4 tsp. garlic powder
1/4 tsp. thyme
1/2 stick butter (or if you're like me, add a whole stick by accident and don't take any out)
1/4 c. flour
1 can cream of mushroom soup
1/2 c. additional broth or milk
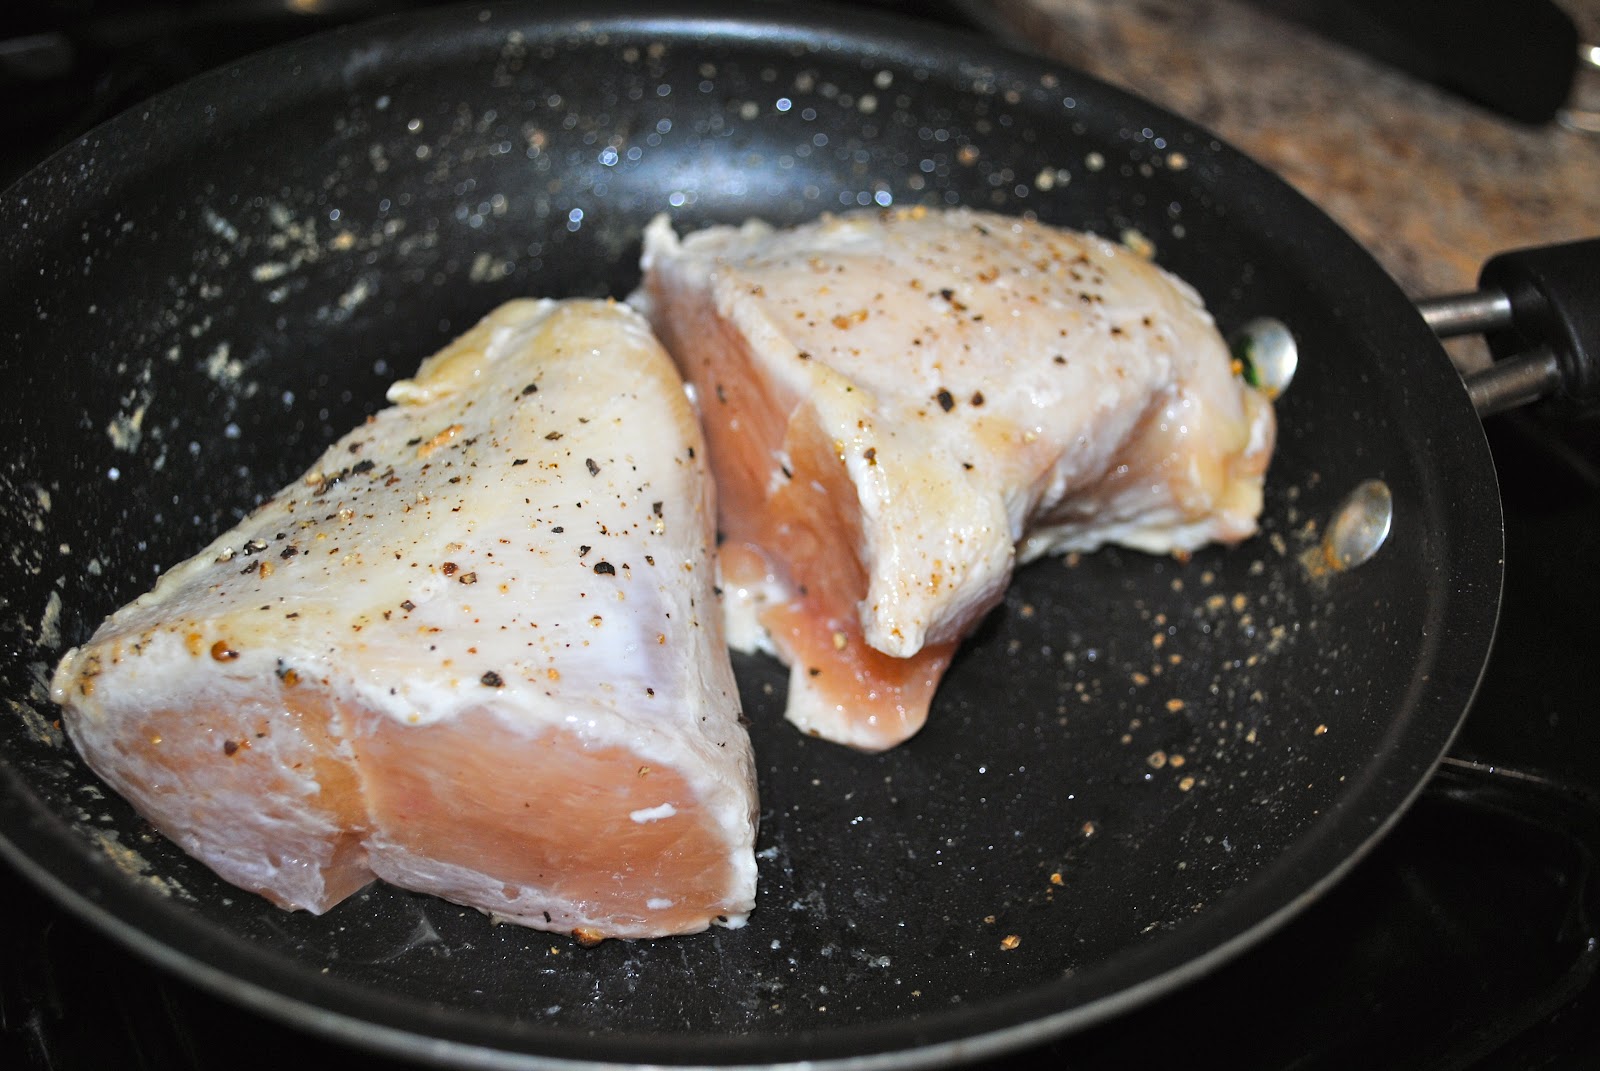
2 c. shredded, cooked chicken
1 box long grain and wild rice, prepared according to directions on box

Combine 1 qt. broth, mushrooms, celery, carrots, onions, bouillon, parsley, garlic powder, thyme in pot. Bring to boil, reduce heat, cover and simmer for 30 minutes.

In a large pot, melt 1/2 stick butter, stir in flour, whisk in broth. Bring to boil, cook & stir until the mixture thickens (about the consistency of gravy). Mix in can of soup, milk, chicken and rice. Pour vegetable mixture into large pot and heat through. 

Serve with homemade bread!

Monday, October 10, 2011

Recipe Review: Pull-Apart Cinnamon Sugar Pumpkin Bread

This past weekend I went home. It was wonderful, just not long enough (per ush). One of my favorite parts of going home is being able to bake ridiculous things due to a fully-stocked pantry and ample counter space. I wanted to make something fallish so I went with this pull-apart cinnamon sugar pumpkin bread. Good Lord. It was delicious. 

The icing was to die for. In fact, I'm changing my cinnamon roll icing to be more like the icing in this recipe. I think next time I make it I'll add more pumpkin and/or pumpkin pie spice to the dough to really make the pumpkin flavor stand out. And I'll for sure double the recipe because one loaf didn't last longer than 24 hours. 

You can find the recipe here.

Tuesday, September 13, 2011

Burrito Bowls & How to Pick Avocados

Of late, I've had a crazy craving for Chipotle's burrito bowls. They're so delicious (and kind of nutritious). Ish. Anyways, I had rice and beans in my cabinet, so rather than eating out, I put them to good use to satiate my craving. 
It was super simple and was totally as delish as Chipotle. 
I made about a million and a half black beans, no lie. Apparently beans are kind of hard to cook. Hard as in they take for. ever. to cook. I had to soak them overnight then cook them for 3 hours, but in the end it was totally worth it (I think). On second thought, just buy a can of black beans.
I thinly sliced a whole green pepper and half an onion and sauteed them for a few minutes, making sure they were brown but not too tender. I did take one short cut after spending half my day cooking beans and made some instant rice while the peppers and onions cooked.
Once the peppers & onions were done, I threw some salsa, guacamole* and cheese on top and called it a meal. And the best part is I have leftovers! It's the little things in life...

*Confession: my guacamole was horrible. It was kind of like cole slaw. Gross, I know. Apparently, there's a right and wrong way to pick an avocado. The right way is to pick them when they're almost purple and softer, but not too soft to where they yield to gentle pressure. The wrong way is to pick pretty green ones. They're are not ripe. They're hard. In fact, you'll probably gash open your hand while cutting them with your cute little Pampered Chef knife that your mom bought you because they're so firm and you'll end up with cole slaw looking guacamole, for example (hypothetically, of course).

Tuesday, August 16, 2011

Recipe Review: Super Moist Chocolate Bundt Cake

This past week I went to the beach with my parents and godparents. Unfortunately we didn't get to go to Bald Head. Fortunately we were near Bald Head and within 30 minutes of the greatest kitchen store of all time: Cat on a Whisk. We went there. Twice. It was glorious, per usual. Among the myriad of goodies I got is a Nordic bundt pan. Needless to say, as soon as we got home, I searched for a cake recipe to break in my new pan - and I hit the jackpot with this one. Not only was the cake ridiculously easy to make, it was amazing. I made it on Saturday and my family is still eating on it today. In fact, it might be better today than it was on Saturday - it keeps getting more moist. I did modify the recipe slightly, adding about a cup of heath pieces, which might have something to do with the deliciousness.

Here's the recipe: (adapted from Tasty Kitchen)
     1 box Chocolate Cake Mix
     1 box Chocolate Pudding Mix
     1 cup Sour Cream
     ¾ cups Oil
     ¾ cups Water
     ½ cups Sugar
     4 whole Eggs
     1 teaspoon Vanilla
     1 cup heath pieces (or other goodies like chocolate chips, peanut butter chips, etc.) 

-Mix all ingredients (except the heath) together on high speed for 3 minutes 
-Stir in heath pieces 
-Pour batter into liberally greased bundt pan
-Bake for about 45 minutes on 350

Tuesday, May 17, 2011

Brookies: A Kid Friendly Recipe!

Last week I had the privilege of hanging out with my godbrother's daughter (my godneice?). She's 2 1/2 and completely adorable. She knows all her alphabet, along with what sounds they make and is a solid counter. She also has awesome manners and never says "yeah", but always answers with "yessss" (very Napoleon Dynamite-esque). 

Since she's such a baby genius, I thought it'd be fun to try out a recipe I'd been wanting to make for a while with her - brookies. Not quite brownies. Not quite cookies. A glorious morph between the two - hence the name. 

No surprises here, you make a pan of brownies and a batch of chocolate chip cookie dough. I made the brownies the night before I was planning on making the brookies so they would have plenty of time to cool. I made a batch of Ghiradelli chocolate chunk brownies and ended up using about 1/2 of pan for the brookies. The brownies have to be cut in small squares (1" x 1/2" or 1" x 1"), otherwise the brookies end up being ginormous.
A few hours before I wanted to start making the brookies, I made the cookie dough so it could chill in the refrigerator before assembling the brookies.
Now, here's where it'd be really great to have an extra set of (little) hands. I know it doesn't look like it, but I promise, she was excited to get to help bake. My mom and I took the cookie dough (about a 1" ball) and flattened it out into a disc, perfect for our little helper to drop the brownie bite into. Apparently all the flattening of dough looked fun, because all our brownies eventually ended up that way (hence the firm, clutched little hand smothering the brownie above). It was okay though, once the brownie eventually made it onto the cookie disc (squished or not), it was completely covered with the cookie dough and sent to the oven to bake.
Note the deformed brownie & excitement
After about 10 minutes in the oven, this is what the brookies looked like. At first, it seems just like an ordinary chocolate chip cookie.
Oh, but wait. There's a gooey, rich brownie tucked away inside. Genius.
The best part, of course, is eating the chocolate chip cookie just to discover the pillow of chocolately goodness that awaits you at the center.
It might even be good enough to shovel it in your mouth using both hands, or at least that was the idea here.
And if you give a toddler a cookie, chances are, she'll ask for a glass of milk.
With a crazy straw.

Tuesday, March 8, 2011

Experimenting with Pesto

This past Saturday was the UNC-Duke game. In honor of this momentous occasion, my family stayed home and cooked a pre-game dinner. Said dinner consisted of homemade pizza, one of my favorites. I wanted to try something different, something with a little more pizazz than plain pepperoni, so I made a pesto sauce to go on one of the pizzas. It was definitely an experiment, but it turned out really well!
I realize it doesn't look like the most appetizing thing in the world, but hang in there with me.
I decided to put shredded chicken and bacon on the pizza, just to balance out the healthiness of the spinach pesto. I can't receive too many nutrients from vegetables, my body won't allow it. I need meat.
I added more cheese for good measure. It full of calcium, so its good for you. Kinda.
After about ten minutes in the oven this is what came out. Delicious chicken, bacon, pesto pizza.
I was afraid the pesto was going to be too strong, especially for my dad & brother, neither of whom are garlic lovers. I was shocked to see that they both really loved it. The pesto was not overpowering at all! It was interesting enough to make this pizza great but at the same time it wasn't too strong. It was juuust right.


Oh, and in case you were wondering, UNC won.

Here's the recipe for the spinach pesto:

4 cups baby spinach
1/4 cup chopped nuts (I used almonds)
1/4 cup Parmesan cheese
1 clove of garlic, pressed
1 tbs. olive oil
2 1/2 tbs. water

Add the first three ingredients to a food processor and blend well. Add wet ingredients. Pulse for approximately one minute intermittently, until a desired consistency is reached.
*Note: A blender could also be used to make this pesto, so long as the nuts and garlic are finely chopped beforehand.